
What is a Checkbox in Excel
A checkbox lets people choose an option by ticking or unticking it. For gathering choices in your Excel spreadsheet, checkboxes are perfect.
In this guide, we’ll show you how to insert a checkbox in Excel. You’ll learn to use checkboxes in formulas for making interactive checklists, to-do lists, reports, or graphs.
💡 If you have Microsoft 365 you can use the new checkbox feature in Excel, which is even simpler to set up and customize. Dive into this article for a for a detailed guide.
For all other Excel versions, this guide will show you the best way to add checkboxes.
How to Enable the Developer Tab in Excel
Before you can add checkboxes, you need to enable the Developer tab in Excel. This tab gives you access to Form Controls, including checkboxes, buttons, and other interactive elements.


Steps to Add the Developer Tab
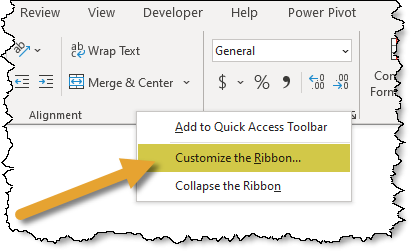
- Right-click anywhere on the ribbon at the top of Excel.
- Select “Customize the Ribbon…” from the menu.

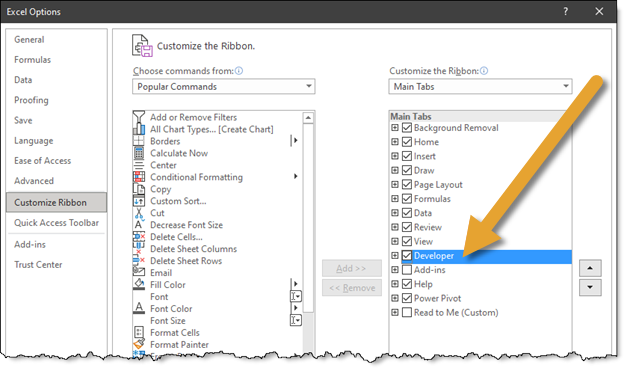
- In the Excel Options window, find the list on the right.
- Check the box next to “Developer.”
- Click OK.

How to Insert a Checkbox
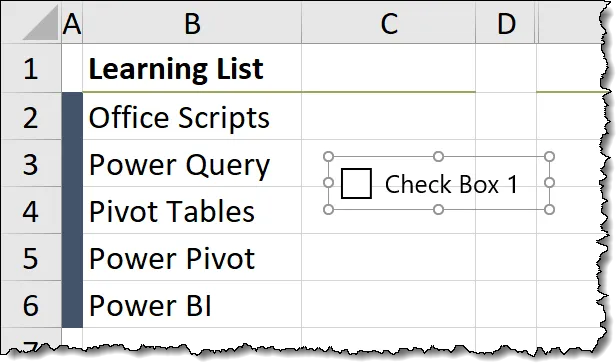
With the Developer ribbon displayed, in the Controls group, select Checkbox in the upper group of buttons labeled Form Controls.
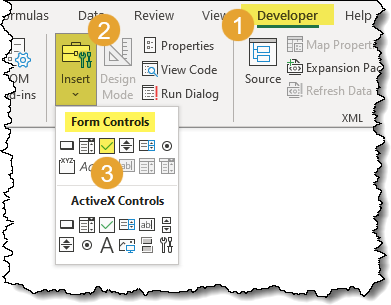

After you click the Checkbox control, click anywhere on the spreadsheet to add your first check mark in Excel.

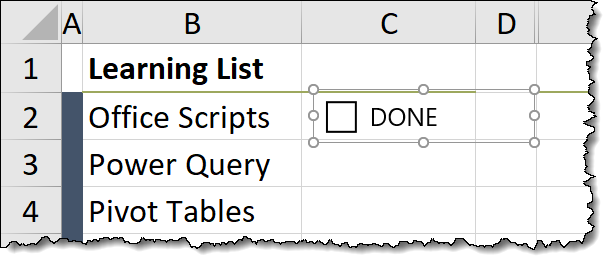
Rename the checkbox to “DONE” by clicking within the text of the checkbox to enter edit mode.
Move the newly added checkbox to position it over the cell next to the first topic.

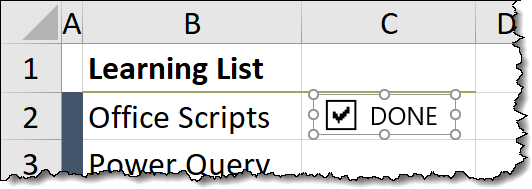
You can test the operation of the checkbox by clicking in the square area.

If you want to create checkboxes for the remaining skill topics, here’s a super cool time-saving trick.
Select the check box for editing (hold the CTRL key when you click on the checkbox to activate it for editing) and resize the boundary of the check mark to be within the boundary of the cell.

Next, click in the cell to display the normal Excel cursor.
Click and hold the Fill Series handle and drag it down to the adjoining cells.

If you want to insert checkbox in Excel for purely visual feedback, you have reached the finish line; nothing further is required.
But, if you want an interactive check box in Excel, you’ll need to follow a few extra steps to make everything work together.
Featured Course
Excel Essentials for the Real World


Link a Checkbox to a Cell in Excel
To track if a checkbox is ticked or not, you must connect it to a specific cell.
This is done by pointing the checkbox to a cell.
For our example, we want the check box that is hovering over cell C2 to save its state in cell C2.
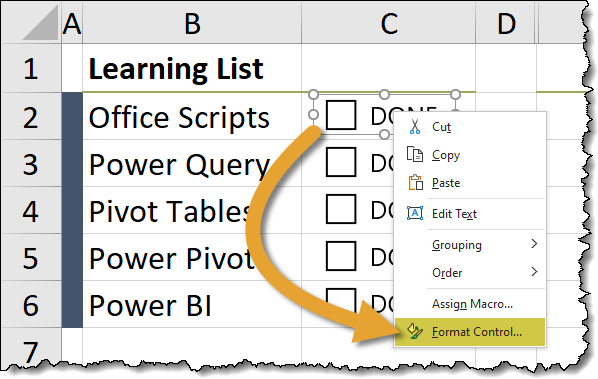
Right-click on the first checkbox and select “Format Control…”.

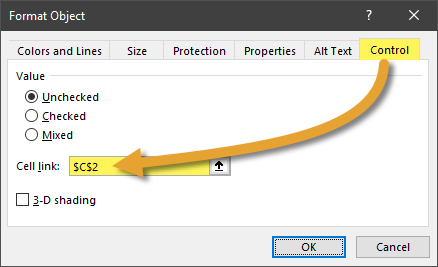
In the Format Control dialog box, enter the cell address of cell C2 in the “Cell Link” option and click OK.

NOTE: This “Format Control…” step must be repeatedly performed for each of the checkboxes, with each checkbox pointing to a different cell link location.
❗The “Cell Link” option is not dynamic and does not update even if the checkbox is copied and pasted to a new location.
Testing the Cell Links
Place a check in each checkbox. You will see the words “TRUE” in the cells behind the labeled checkboxes. Remove the check marks and you will see the words “FALSE”.
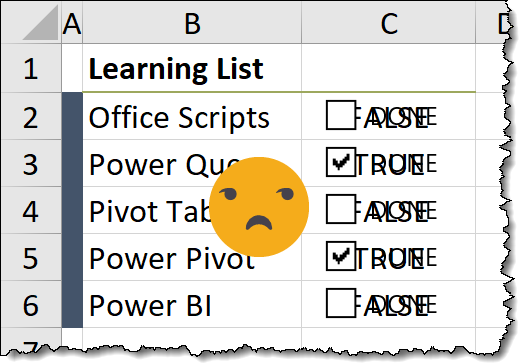

It appears a bit messy, but we can fix this by selecting the linked cells and setting their font colors to WHITE.

Featured Course
Master Excel Power Query – Beginner to Pro


Creating an Interactive To-Do-List in Excel
Now that we have cells that change to “True” or “False” depending on the checkbox states, we can leverage those true/false cells to control the look of our listed skills.
This will be achieved using the Conditional Formatting feature in Excel.
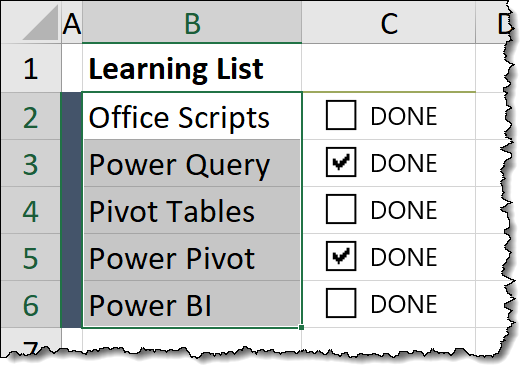
Step 1: Select the cells holding the listed skills (ex: B2 through B6).

Step 2: Click Home (tab) -> Styles (group) -> Conditional Formatting -> New Rule…


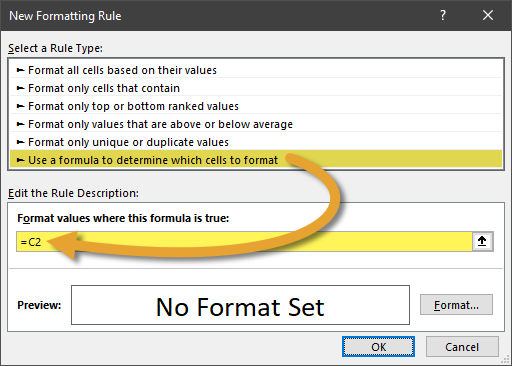
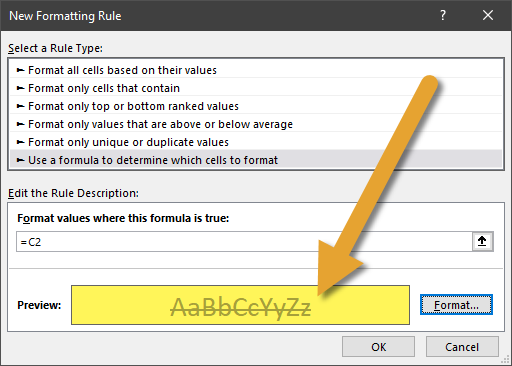
Step 3: In the New Formatting Rule dialog box, select “Use a formula to determine which cells to format”. Enter the cell address of the first cell that holds a true/false response (ex: =C2).

Step 4: Click the “Format…” button to open the Format Cells dialog box. Set the style to whatever format pleases you. I’m going to go with a strikethrough font that is a medium gray color.
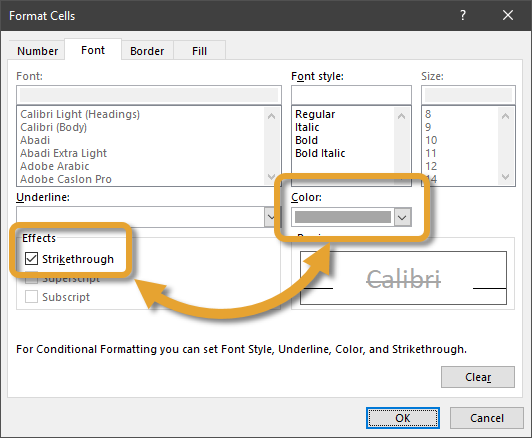


Click OK to close the dialog box.
Testing the Conditional Formatting
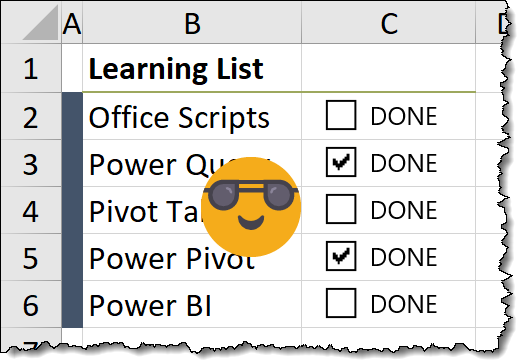
Place and remove a check within each checkbox to see the Conditional Formatting feature applied to the related skill topic.

Using Checkboxes with Excel Formulas
Any formula that can use a “True” or “False” in its logic can leverage checkboxes for increased functionality.
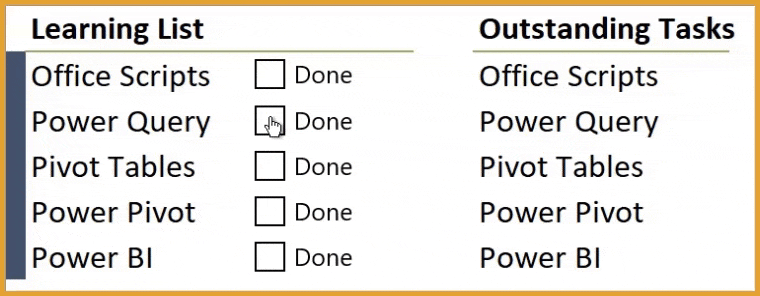
Creating a List of Outstanding Tasks
If you want a list of tasks or skills you haven’t finished yet, you can use the FILTER function. This helps make a list of things marked as “False” in the checkbox column.
The FILTER function can use the true/false states of cells C2 through C6 to filter the list of items in cells B2 through B6.
We will write a formula that says, “If the state of a cell in column “C” is “False”, display the corresponding skill from column “B”. If none of the cells in column “C” are “False”, then display the message “All Done” ”.
=FILTER(B2:B6, C2:C6=FALSE, "All Done")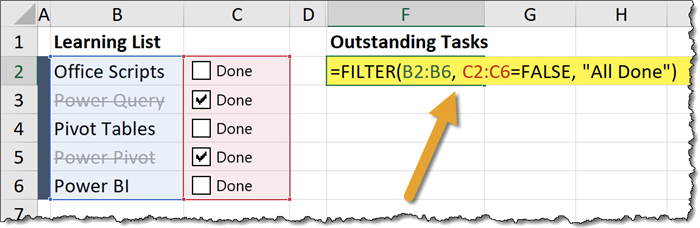

Check the boxes and observe the “Outstanding Tasks” list in comparison to the selected checkboxes.

The FILTER function is not looking at the checkboxes, it’s looking at the “True” and “False” entries in the cells behind the checkboxes to select the corresponding skill.
Download the Practice Workbook
As you can see, to insert checkbox in Excel is really easy and provides a great means of providing interactivity to a spreadsheet.
Using the outcome of the checkbox to control the rest of your report is also very simple once you learn how to use the linked cell in your formula.
Download the free workbook 👉 HERE.

Leila Gharani
I’ve spent over 20 years helping businesses use data to improve their results. I've worked as an economist and a consultant. I spent 12 years in corporate roles across finance, operations, and IT—managing SAP and Oracle projects.
As a 7-time Microsoft MVP, I have deep knowledge of tools like Excel and Power BI.
I love making complex tech topics easy to understand. There’s nothing better than helping someone realize they can do it themselves. I’m always learning new things too and finding better ways to help others succeed.